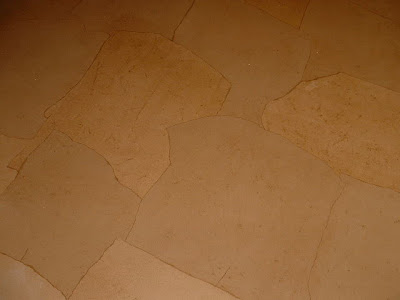
Today I have one of our more bizarre home improvements to show you. A while back, the vinyl flooring in our foyer/kitchen was really starting to look worn. We also had some parquet flooring in the dining room that I just hated and some carpeting in the living room that I was not overly fond of, either.
Since it was really not in the budget to replace most of the flooring in the downstairs of the house, I began to search around for some sort of quick fix that might last for a year or two. I suddenly remembered reading an article in a magazine years before about a paper bag floor! Of course, I no longer had the magazine, but with the wonders of the Internet, I researched the method(s) like THIS and THIS, and came up with a plan.
First, we tore up the old parquet and the carpeting.

There was adhesive and various other lumpy stuff left on the floor, so we laid a layer of luaun (really thin plywood underlayment) to smooth things out.

We sealed the luaun by painting over it with whatever leftover paint we had.

Now here is where I should have taken more pictures. I did the paper bag part while my husband was at work and it was WAY TOO MESSY to be snapping pictures! I used rolls of brown paper from Lowe's (the kind they roll out to protect your carpet if you have construction going on in your house.) It was a little bit back-breaking, but the hardest part was keeping the cats off it until the polyurethane dried!
So here are some pics of the finished flooring:


Turned out okay, right? I have to say it has held up fairly well, considering it's PAPER! It's been several years now and it still looks pretty good. It did shrink up around one of the floor vent areas, but it's behind the kitchen table and is not obvious. Not bad for a temporary fix!


No comments:
Post a Comment